快速开始
1. npm 方式
安装
bash
npm i three -S
npm i three-tile -S引入
ts
import * as THREE from "three";
import * as tt from "three-tile";
import * as plugin from "three-tile/plugin";2. script 方式
html
<script type="importmap">
    {
        "imports": {
            "three": "https://unpkg.com/three@0.183.1/build/three.module.js",
            "three-tile": "https://unpkg.com/three-tile@0.11.14/dist",
            "three-tile/plugin": "https://unpkg.com/three-tile@0.11.14/dist/plugin"
        }
    }
</script>ts
import * as THREE from "three";
import * as tt from "three-tile";
import * as plugin from "three-tile/plugin";3. 使用示例
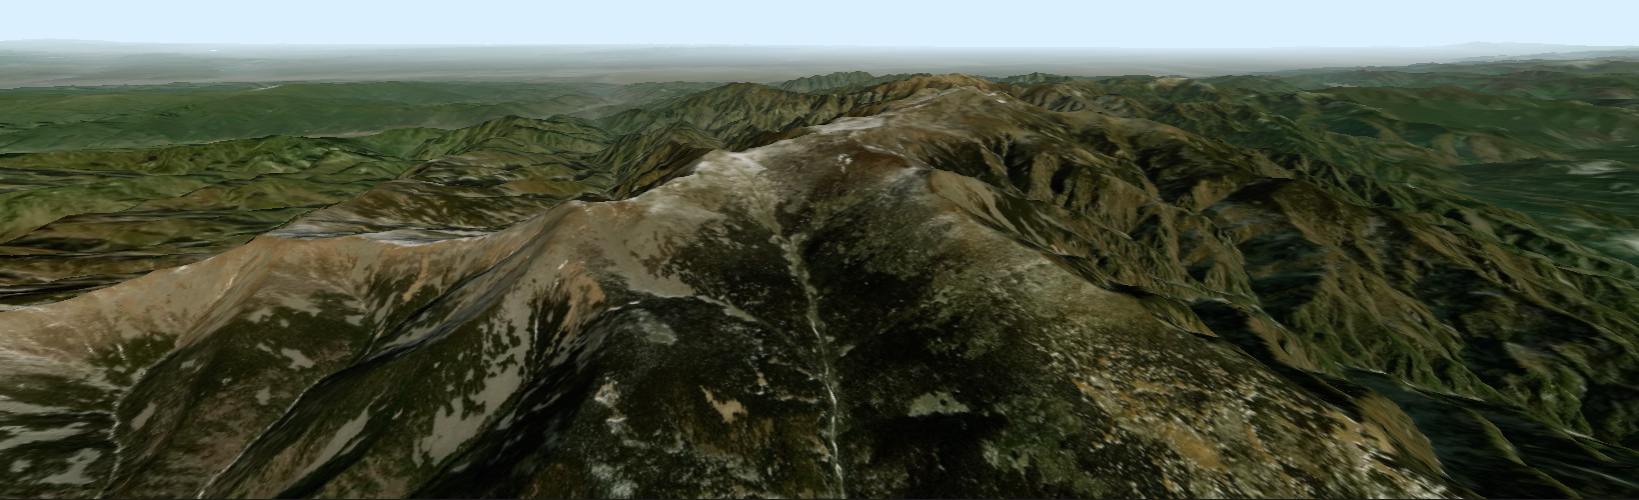
这是一个最简单的 three-tile 程序,展示了如何在网页中添加一个三维地图,使用 arcgis 影像和地形数据:
loading
ts
import * as THREE from "three";
import * as tt from "three-tile";
import * as plugin from "three-tile/plugin";

// 创建地图
const map = tt.TileMap.create({
    // 影像数据源
    imgSource: new plugin.ArcGisSource(),
    // 地形数据源
    demSource: new plugin.ArcGisDemSource(),
});
// 地图旋转到xz平面
map.rotateX(-Math.PI / 2);

// 初始化场景
const viewer = new plugin.GLViewer("#map");
// 地图添加到场景
viewer.scene.add(map);TIP
plugin.GLViewer 是 three-tile 提供的一个插件,它封装了 threejs 三维场景创建代码,它并不是必须的,你可以自己完成 scene、renderer、camera、controls、 light 等的创建,然后把 TileMap 实例添加进场景。
上面的地图略显简陋,但运行还是十分流畅的,当你将地图移动旋转到合适的位置时,你会发现几乎能达到以假乱真的效果。